
Drainage and ponding
How to assess roof ponding: falls, outlets and waterproofing checks
A single puddle does not explain the cause. Plot outlets, low points, obstructions, existing-layer conditions and recession times on the same roof plan.
Direct answer
For roof ponding, first record the area, depth changes and recession time after rain; remove visible debris; then inspect the outlet surroundings, drainage falls, wall junctions, cracks, equipment bases and existing waterproofing. If the flow route is obstructed, falls are inadequate or the substrate has failed, enlarging an outlet or adding a surface coat may not solve the problem. The works may need to address falls, substrate and the complete waterproofing system together.
Editorial and review record
Published2026-05-01
Updated2026-05-01
Content ownerProficient Waterproofing & Engineering Ltd.
Technical reviewProficient Waterproofing Technical Team
This article provides an initial evidence and works-decision framework for roof ponding. Drainage capacity, falls, structural loading, concealed layers and final system selection require site assessment and any necessary professional advice.
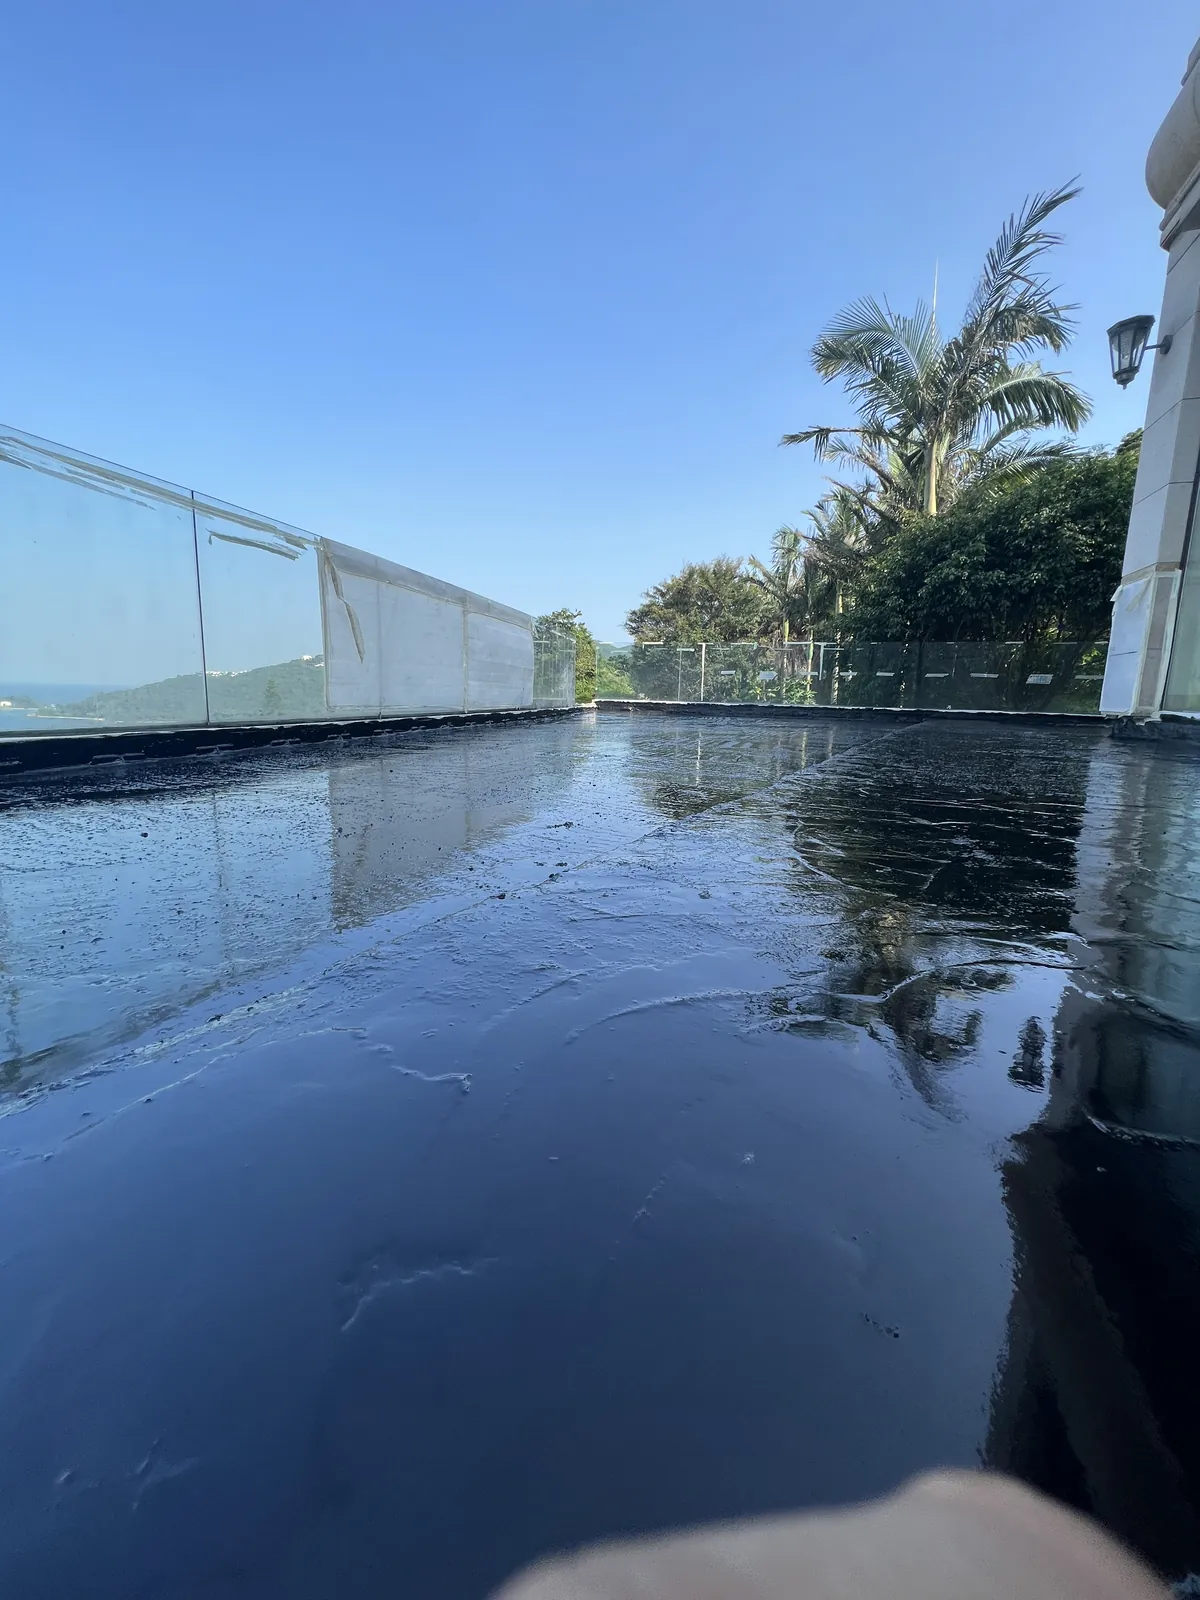
Rain inspection checklist
Inspect these 7 locations in sequence.
01
Ponding extent, depth and recession time
Where safe, take timed photographs from the same position and note which area dries last.
Suggested recordRain-stop time, timed photographs, boundary and approximate depth
02
Outlet grating and surrounding termination
Check for debris, cracks, settlement or raised edges and confirm that water can enter the outlet.
Suggested recordBefore-and-after cleaning and close-up of surrounding levels
03
Drainage falls and local low points
Trace the flow for backfalls, settlement or discontinuity. A formal assessment requires suitable measurement.
Suggested recordContinuous photographs from high point to outlet with low points marked
04
Wall-to-roof junctions
Where water reaches a wall foot, check the corner, upstand and termination for continuity, peeling or cracking.
Suggested recordContinuous wall-foot close-ups and highest water boundary
05
Cracks, blistering and existing-layer adhesion
Cracks, blisters, hollow areas and multiple coatings near ponding require assessment of both the substrate and existing system.
Suggested recordDefect, adjacent stable area and whole roof zone
06
Equipment bases and flow obstructions
Equipment, supports, stored materials and later works may interrupt drainage or conceal low points and waterproofing details.
Suggested recordAll sides of each base and upstream/downstream views
07
Overflow route during extreme rainfall
Confirm that the intended overflow is visible and open, and record water levels approaching thresholds or other sensitive details.
Suggested recordOverflow, threshold level difference and contextual overview
Repair decision
Choose complete reconstruction or a Polyurea overlay from the site conditions.
Use the same two system directions as the home page, checking the existing layers, substrate, moisture and drainage before defining the works.
01 / Full removal
Complete removal and reconstruction of the roof waterproofing system
A high-rise duplex project showing removal of the existing build-up, substrate preparation and the scale of a complete waterproofing reconstruction.
View suitability and limitations
- More suitable when
- The existing waterproofing has widespread failure, debonding or peeling; the substrate needs repair; or drainage falls and junction details must be rebuilt.
- Confirm before work
- Removal limits, substrate repairs, drainage falls, waterproofing build-up, protection or reinstatement, and coordination with rooftop equipment and other trades.
- Main limitation
- The scope and programme are larger. The quotation should clearly state removal, waste disposal, reinstatement, testing and exclusions.
02 / Overlay system
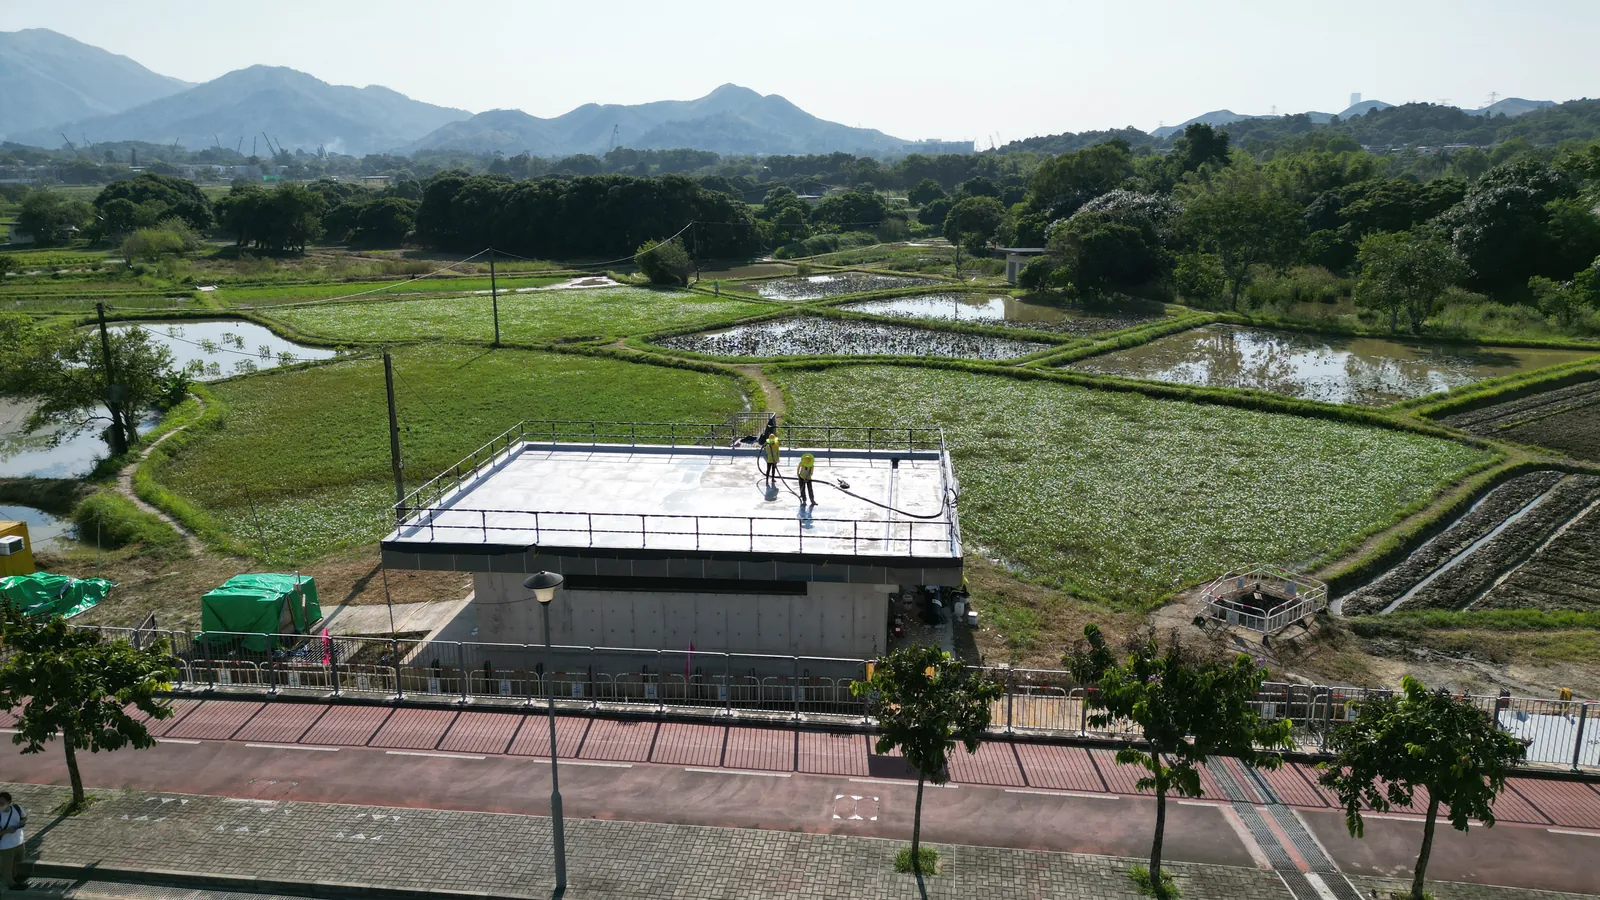
Seamless Polyurea spray system without full removal
Project footage from residential roofs, petrol stations and basements illustrating Polyurea overlay applications. Suitability still depends on substrate, moisture, drainage and existing-layer conditions.
View suitability and limitations
- More suitable when
- The substrate and most of the existing system remain stable, allowing a continuous waterproofing surface to be formed after cleaning, repairs and reinforcement of details.
- Confirm before work
- Adhesion of the existing layers, substrate moisture, material compatibility, drainage falls and termination details.
- Main limitation
- A new coating must not be used to conceal debonding, trapped moisture or unresolved drainage defects.
Further guidance
Open the details needed for further assessment and enquiry preparation.
01 Evidence first
Use a timeline to distinguish temporary water from persistent ponding
One photograph only proves that water was present at that moment. Record when rain stops and repeat the same view at safe intervals.
Plot the ponding area relative to outlets, wall junctions, thresholds and equipment so the site survey can verify the flow route directly.
- 01Timed photographs after rainfall
- 02Outlet and ponding location plan
- 03Obstructions and low points
- 04Previous repair and recurrence record
02 Root cause
Assess outlets, falls and waterproofing together
A clear outlet can still be ineffective where backfalls or settlement trap water. Conversely, reasonable falls may still drain slowly because of a grating, raised edge or obstruction.
A recommendation should identify which causes are supported by evidence, what still needs measurement and how drainage and waterproofing integrity will be checked after the work.
03 Scope decision
Choose a complete system around the substrate and drainage problem
Where the substrate, existing layer and falls need rebuilding, include removal, repairs, screeding, waterproofing, terminations and testing in one scope.
A Polyurea overlay should only be considered where the substrate and existing layers are stable and moisture and compatibility are suitable. A new surface cannot replace drainage correction.
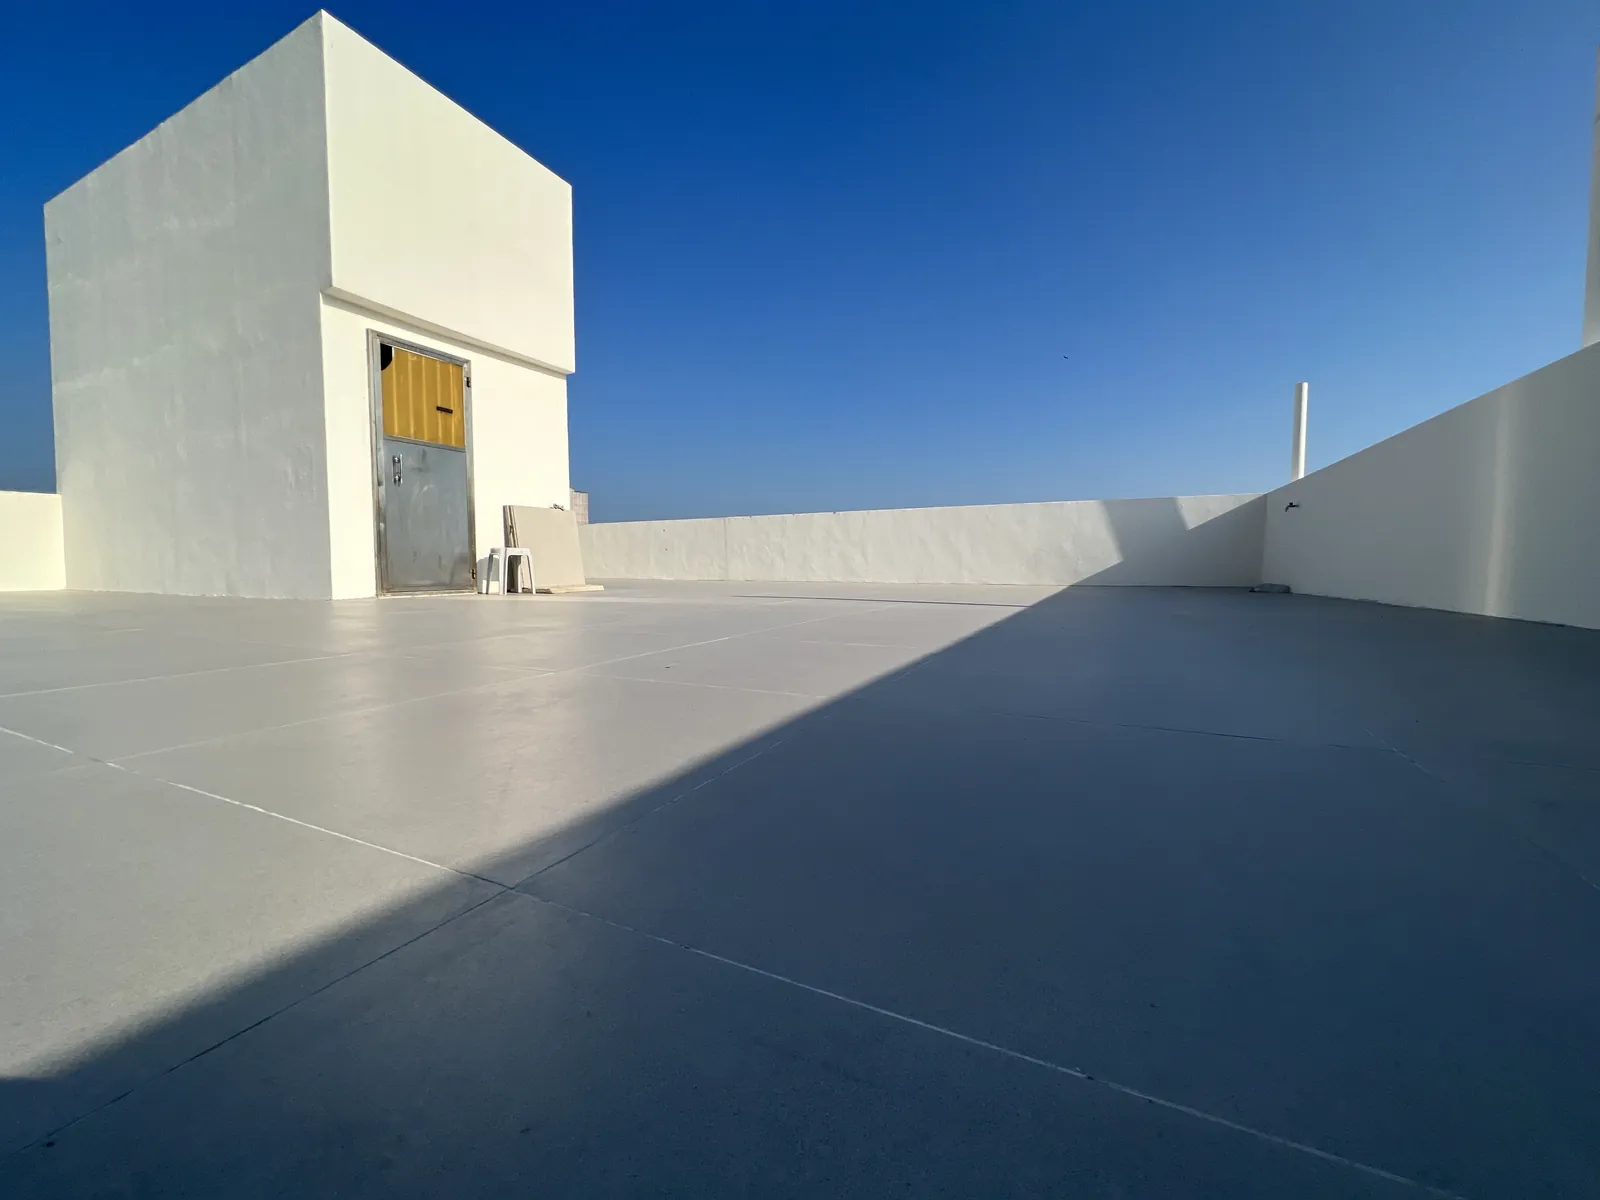
Related reading
Related roof waterproofing articles
Roof waterproofing before the rainy season: 8 places owners should check
An eight-point pre-rainy-season roof inspection covering drainage, ponding, parapets, cracks, thresholds, equipment bases, old repairs and overflow routes.
Parapet and wall-foot leakage: cracks, terminations and upstands
A parapet leakage inspection guide covering coping joints, cracks, wall-foot corners, waterproofing upstands, fixings, thresholds and previous repairs.
FAQ
Frequently asked questions
Does water after rain always mean the waterproofing has failed?+
No, but persistent ponding increases stress on details and aged layers. Record recession time and inspect falls, outlets and waterproofing condition together.
Will enlarging the outlet always solve ponding?+
No. If water cannot reach the outlet because of backfalls, settlement, raised edges or obstructions, changing the outlet alone may not help.
Can material simply be added at the ponding area?+
Do not decide by surface thickness alone. Check the substrate, adhesion, moisture, falls and terminations first, or the underlying problem may be sealed below the new layer.
How should an owner photograph roof ponding?+
Start with an overall roof view and flow direction, then repeat the same safe viewpoint at timed intervals. Keep the date, rain-stop time and ponding boundary.
Source record
Sources and further guidance
- 01Buildings Department: Water seepage in buildings
Official guidance on possible causes, owner and occupier responsibilities, coordination with building management and when professional advice may be required.
- 02Roof leakage and repair responsibility guide
Proficient Waterproofing's framework for tracing water entry and checking common areas, exclusive-use areas and deed provisions separately.
- 03Roof waterproofing cost and scope guide
The scope items that should be stated when comparing a Polyurea overlay with complete removal and reconstruction.
Residential enquiry
Need help organising leakage evidence and next steps?
Send an overall roof view, the leakage location and approximate affected area. Our engineering team can identify what should be confirmed during a site survey.